
Thursday, October 24, 2013
Etsy's New Guidelines...
With Etsy's new guidelines now allowing shops to outsource their production it's made me reconsider staying with Etsy. As a result I am opening a shop on Zibbet http://www.zibbet.com/OlliePots Its a site that has only truly handmade items. Check it out and pass the word.
Sunday, November 18, 2012
Finally...
I am very excited to say that my kiln if 'finally' set up (in my bedroom)! I'm going to start it up right after posting this :D
Hummm... Click... There it goes!!!
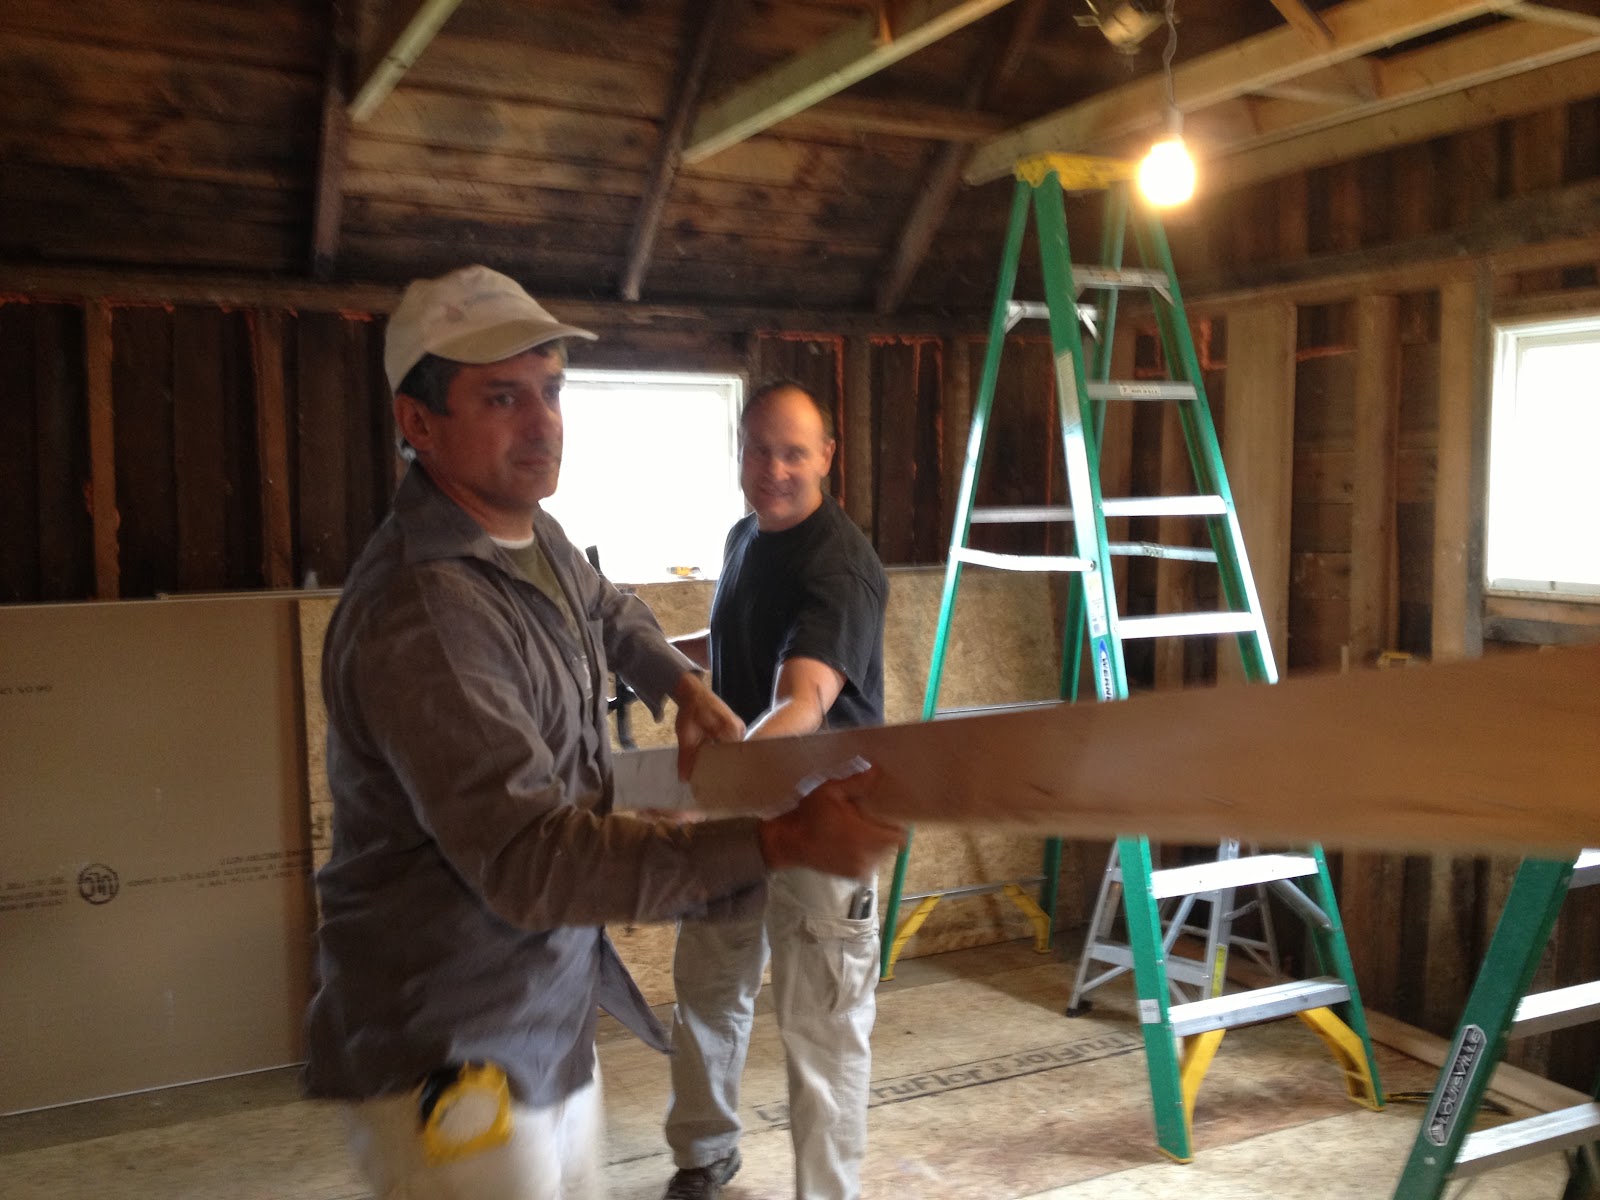
We moved here in May. It's been seven months since I've fired a load, YIKES! I have to say that we have had other things take priority due to renovating. I guess that having safe electrical or a roof that doesn't leak or no mold really is more important. We had to tear out our kitchen due to mold. Not expecting that. That's a whole other post for sure. We replaced and repaired the roof, tore off the back porch and had to gut the kitchen right down to the crawl space. Man, it was gross and a bit disheartening.


Not done yet but at least the floor is down. Have you ever lived without a kitchen for six months? Thank goodness for the microwave and electric frying pan.
Happy to be back in the studio (it's in my living room) making pots again!
Hummm.... Click.... I love that sound!
Hummm... Click... There it goes!!!
We moved here in May. It's been seven months since I've fired a load, YIKES! I have to say that we have had other things take priority due to renovating. I guess that having safe electrical or a roof that doesn't leak or no mold really is more important. We had to tear out our kitchen due to mold. Not expecting that. That's a whole other post for sure. We replaced and repaired the roof, tore off the back porch and had to gut the kitchen right down to the crawl space. Man, it was gross and a bit disheartening.

Not done yet but at least the floor is down. Have you ever lived without a kitchen for six months? Thank goodness for the microwave and electric frying pan.
Happy to be back in the studio (it's in my living room) making pots again!
Hummm.... Click.... I love that sound!
Thursday, November 8, 2012
Addicted!

"The Colaborative Snoozing Creativity Project"
Wednesday, October 31, 2012
Tuesday, October 30, 2012
Shaving Mugs vs online marketing
I'd much rather be making my shaving mugs. Glazing pottery... packing etsy orders... Firing the kiln...anything in the pottery studio would be a relief.
My brain is hurting because I'm learning about search engine optimization.
I'm going to make some molds, yeah!
I'm going to make some molds, yeah!

Manly Shaving Mug Gift Set. Comes with shaving brush and soap.
$33.00 Buy Coconut Brown

Manly Shaving Mug Gift Set. Comes with shaving brush and soap.
$33.00 Buy Bronze

Manly Shaving Mug Gift Set. Comes with shaving brush and soap.
$33.00 Buy Mag. White
Subscribe to:
Posts (Atom)